Onboarding (macOS App)
This doc describes the current first‑run onboarding flow. The goal is a smooth “day 0” experience: pick where the Gateway runs, connect auth, run the wizard, and let the agent bootstrap itself. For a general overview of onboarding paths, see Onboarding Overview.
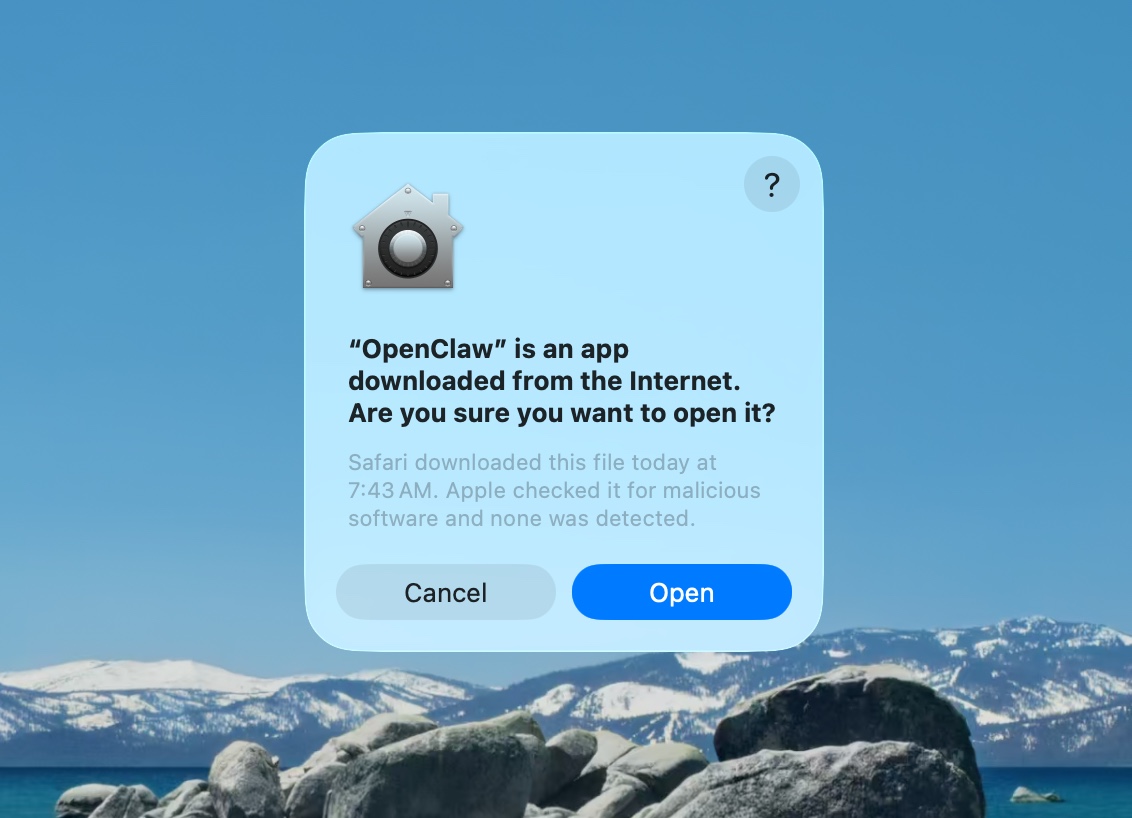
Step 1: Approve macOS warning
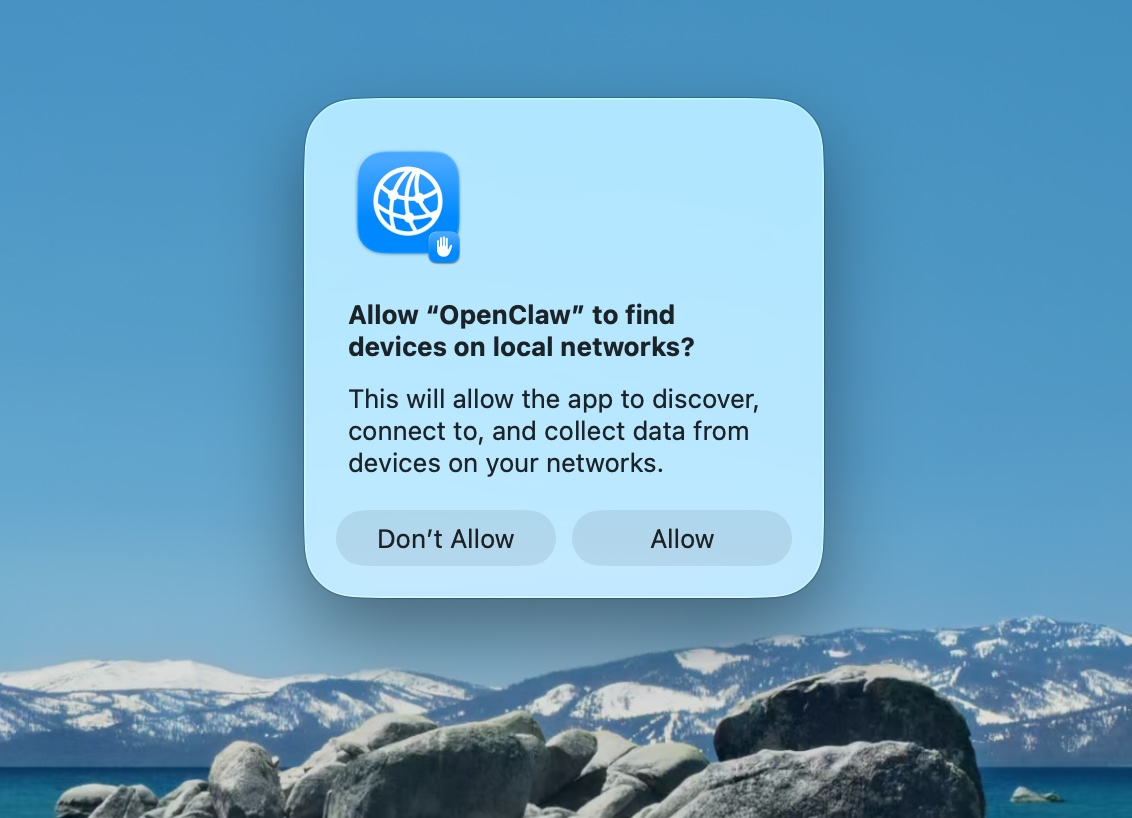
 **Step 2: Approve find local networks**
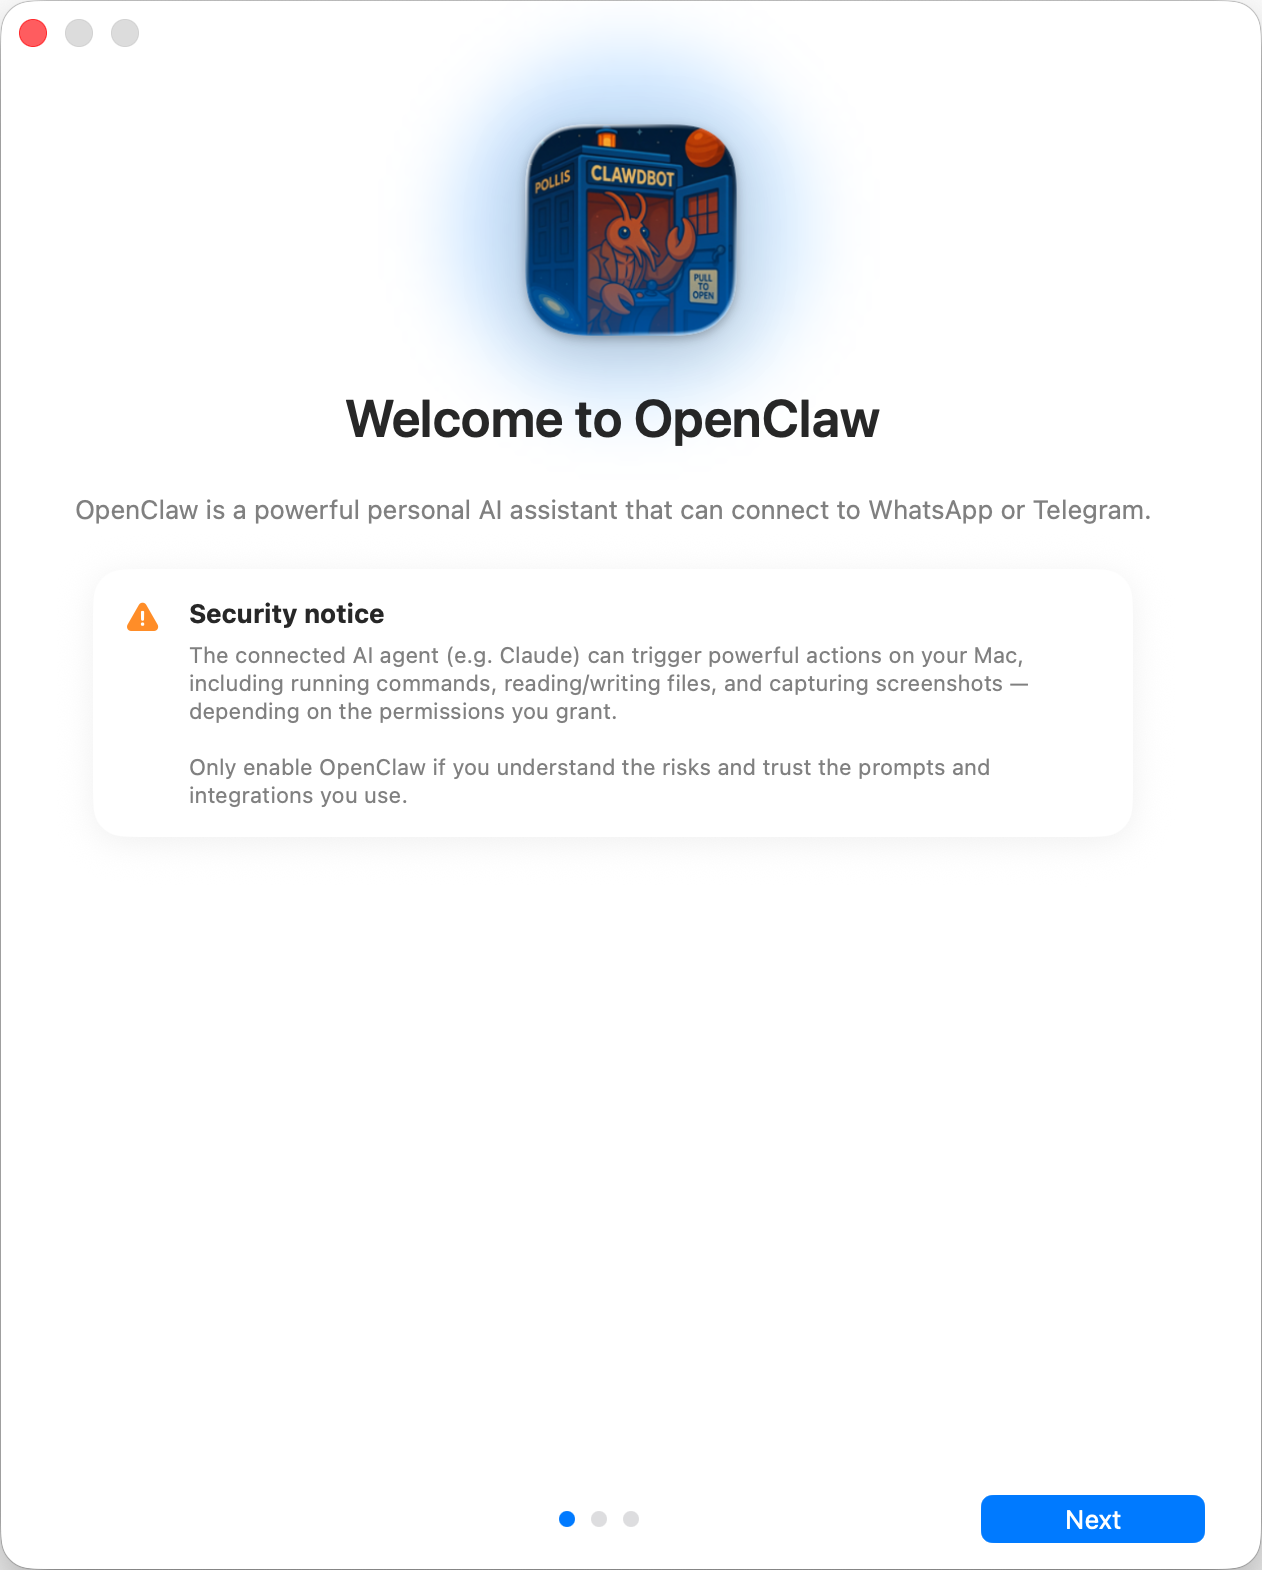
 **Step 3: Welcome and security notice**
 **Step 4: Local vs Remote**
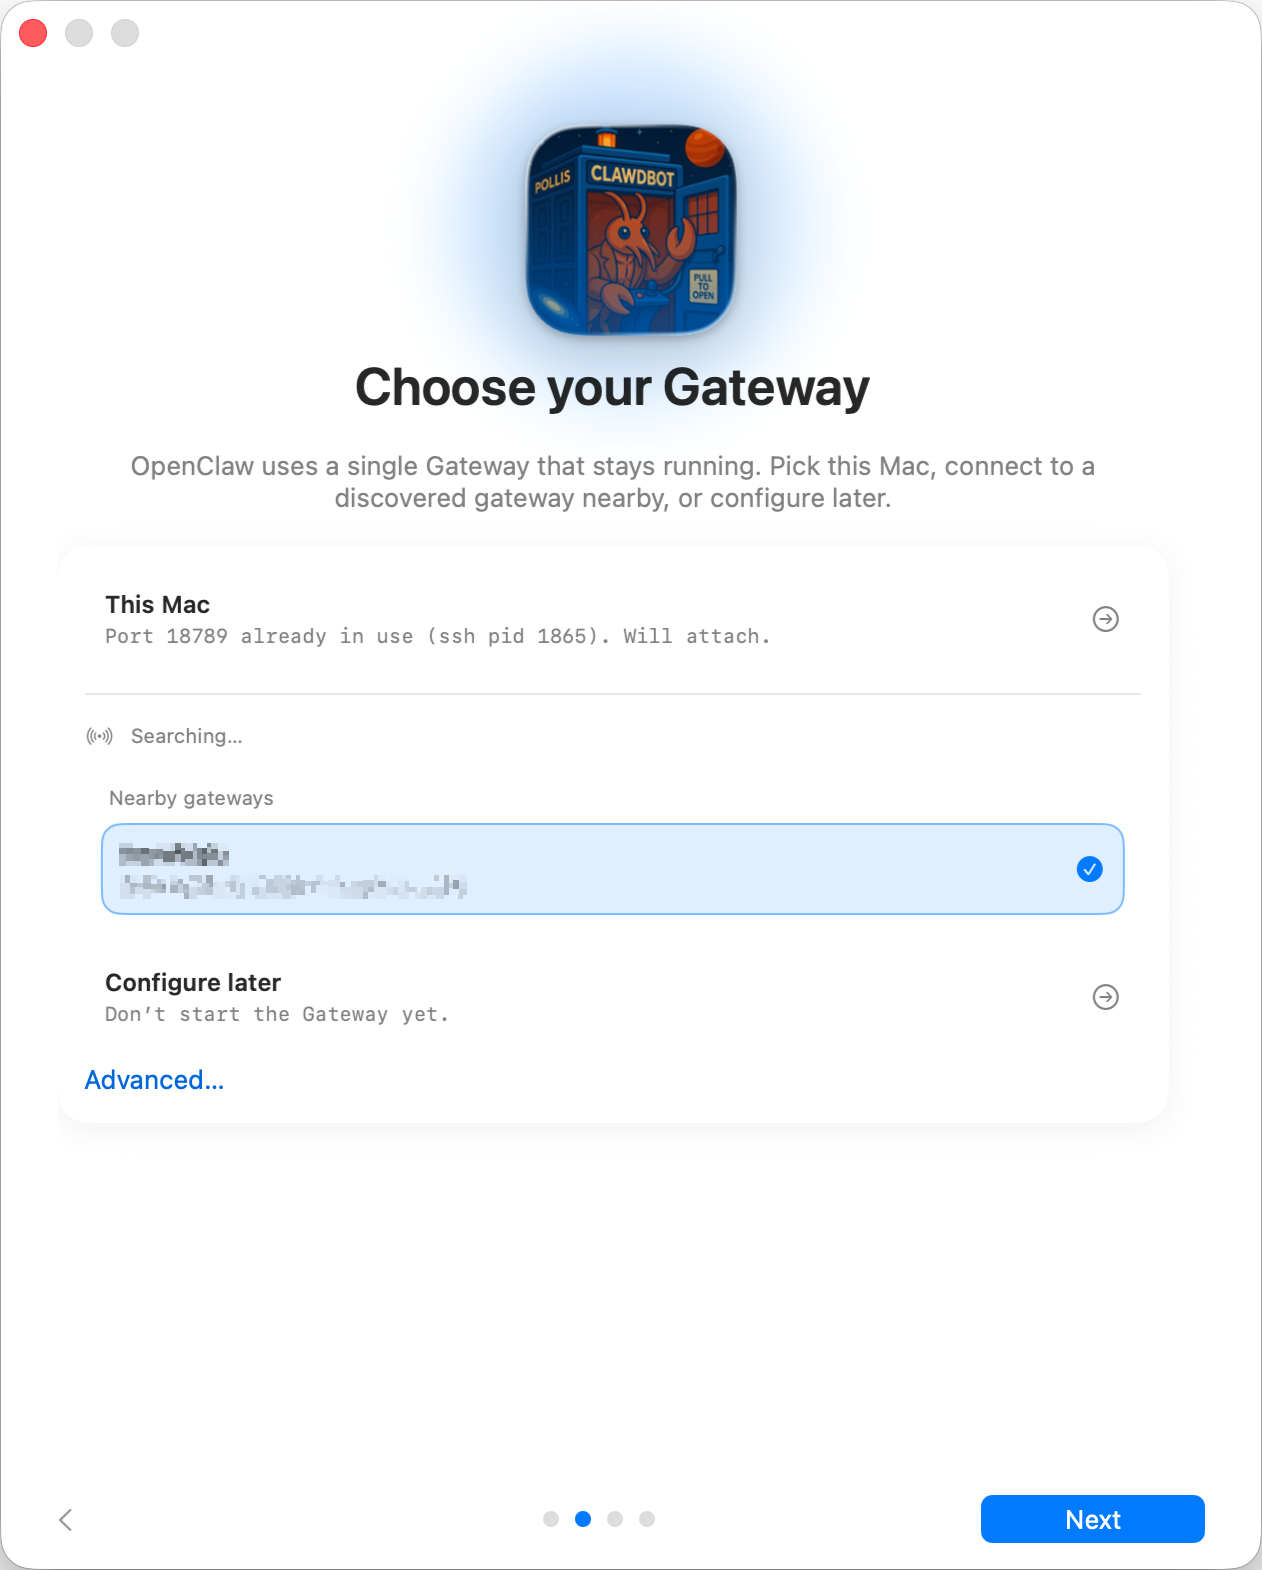
Where does the Gateway run?
- This Mac (Local only): onboarding can run OAuth flows and write credentials locally.
- Remote (over SSH/Tailnet): onboarding does not run OAuth locally; credentials must exist on the gateway host.
- Configure later: skip setup and leave the app unconfigured.
💡 Tip:
Gateway auth tip:
- The wizard now generates a token even for loopback, so local WS clients must authenticate.
- If you disable auth, any local process can connect; use that only on fully trusted machines.
- Use a token for multi‑machine access or non‑loopback binds. Step 5: Permissions
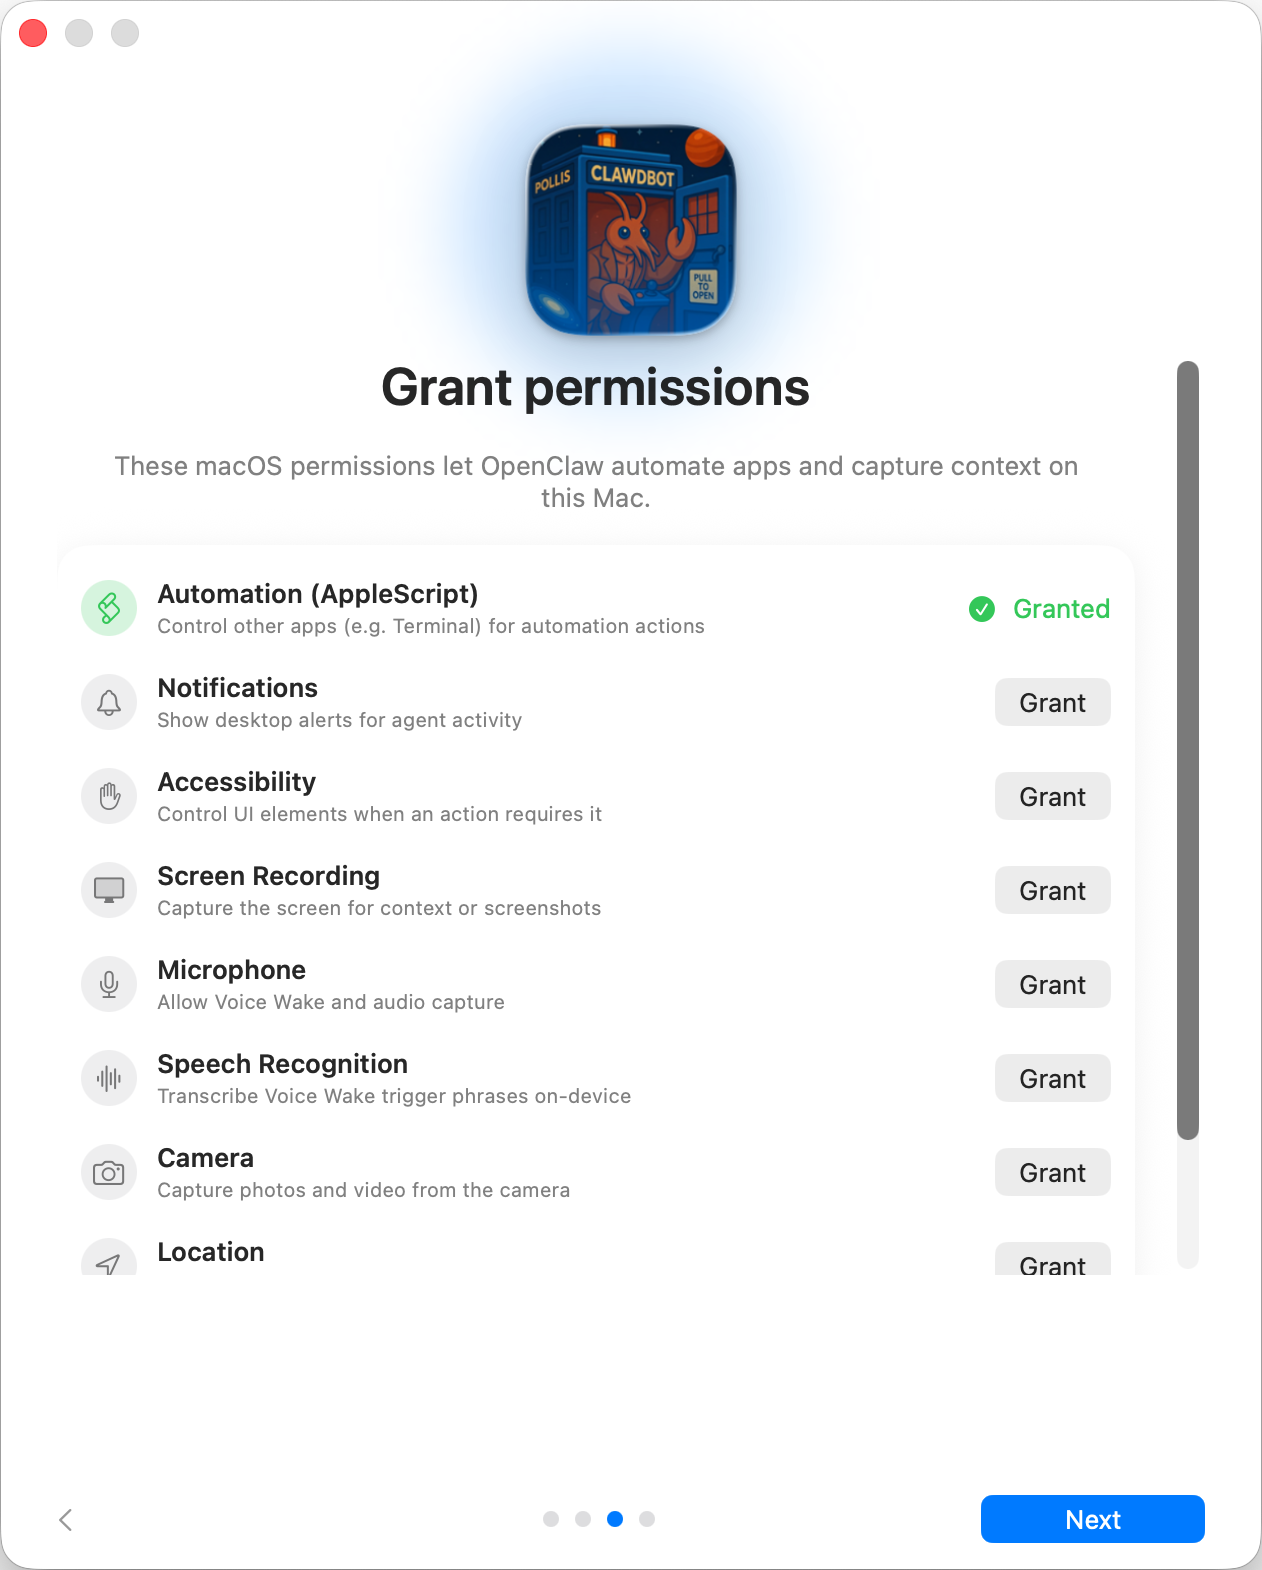
Onboarding requests TCC permissions needed for:
- Automation (AppleScript)
- Notifications
- Accessibility
- Screen Recording
- Microphone
- Speech Recognition
- Camera
- Location Step 6: CLI
ℹ️ Info:
This step is optional The app can install the global
openclawCLI via npm/pnpm so terminal workflows and launchd tasks work out of the box. Step 7: Onboarding Chat (dedicated session)
After setup, the app opens a dedicated onboarding chat session so the agent can introduce itself and guide next steps. This keeps first‑run guidance separate from your normal conversation. See Bootstrapping for what happens on the gateway host during the first agent run.